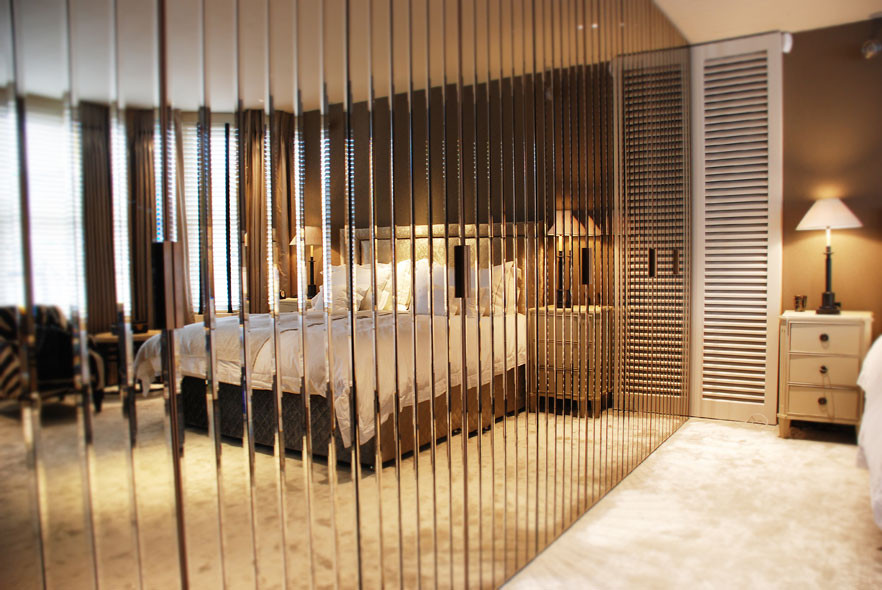
Are you thinking of getting your outdated mirrored closet doors refurbished? You are probably deciding right. If your closet doors (whether these are bi-fold doors or any other) no longer interest you or keep up their appearance in line with the overall decor of your room, then it’s time to have them replaced. You can opt for more modern choices while preparing a closet-door project.
While reworking on your closet doors, you will require these following materials and tools before proceeding with the renovation.
- Medium density fiberboard strips (preferably three inches in size)
- Brackets for dowels
- Heavy-duty panel adhesive
- Screws and drills
- One eighth-inches thick plywood
- Paintbrushes
- Oil-based stain
- Water-based polyurethane
- A standard paint roller
- Needle and thread (or a sewing machine)
- Skil saw
- Wooden dowels and nail gun (five eighth inches in size)
Once you have collected these implements, follow the below given steps carefully to refurbish your closet doors.
- First and foremost, remove the mirrored doors from their tracks and turn them over so that their back sides become the new front sides.
- Attach the fiberboard strips to these new front sides using the heavy-duty panel adhesive. Make sure you leave enough gap between the bottom strip and the frame so as to easily fit the dowel dabbed in fabric.
- Take the drill and fix the brackets towards the top portion of your newly mounted inner frame.
- Next, with the skil saw, cut out a mid portion of the plywood. Ensure that this portion is an inch wider in size as compared to the fiberboard frame.
- With the paintbrush, proceed to apply the oil-based stain to your newly made door skin. To provide it a perfect finesse, apply two coats of water-based polyurethane with the help of a standard paint roller.
- Now either with a sewing machine or a needle and thread, design curtain panels with finished edges on every side. Complete the task by adding rod pockets both at the top and the bottom. Make sure the panels are at least two to three times wider than the inside of your doors. By doing this, you will achieve a soft pleated look and these panels will no longer be transparent.
- As the next step, insert the dowel inside the top as well as the bottom rod pockets and fan out the panels uniformly. The dowels should be fitted into the bracket at the top and into the gap at the bottom. Secure the dowels in place using a nail gun.
- Lastly, firmly secure the plywood door skins to the fiberboard frame with the panel adhesive and the nail gun. Drill the nails at such an angle that they don’t puncture the door skins. Once this is done, you are ready to place back the doors into their tracks.
Redoing your mirrored closet doors is an easy do-it-yourself project. Just in case you think seeking professional help will be a better decision, then definitely choose to do so. All that matters is the task to be executed correctly and efficiently so that you can enjoy a brand new closet door look without much expense.
Do you have any opinions to share? Please leave them below for us.